Follow the steps on this page to install the EA SchemaGens Add-In.
Download the installation files
- Sign up to get either editions of the Add-In from here.
- In the end of the sign up process you’ll receive the download link in an e-mail. We do recommend to run an anti-virus scan on the downloaded file just in case, it is generally considered to be good practice.
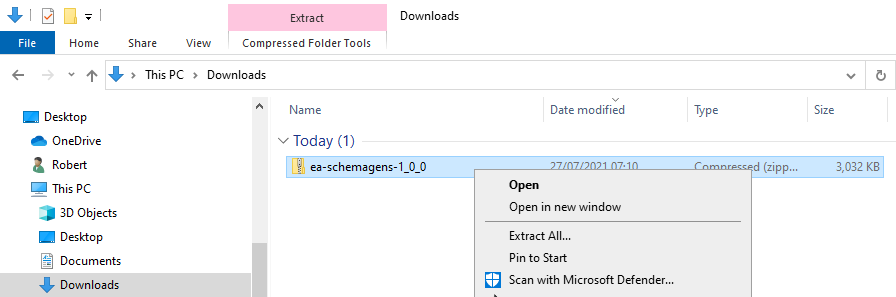
- Once you downloaded the ZIP file, extract it by right clicking on the file and select ‘Extract All…’
- In the directory after extraction, start the installation by launching
setup.exe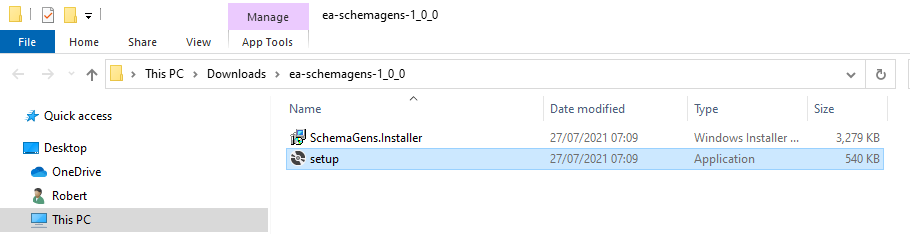
Run the installer
Follow the instructions on screen. Once installed, you can launch Enterprise Architect. Refer to the Get started guide to continue.
Enter purchased license key
Applicable to Professional edition only.
Your product license key has an expiry. The expiry date will be in your purchase confirmation e-mail. After the license key expiry date, the Add-In will revert to basic functionality provided in the Starter edition. You can always purchase a new license key to keep using the Professional edition features.
You will receive your product license key in an e-mail after purchase. Once the Add-In is installed, make sure you are on the ‘Start’ toolbar and then:
- click on ‘Register’ on the right-hand side of the ribbon
- click ‘Add Key’ in the opening window
See the screenshot below that shows you the 2 step process:
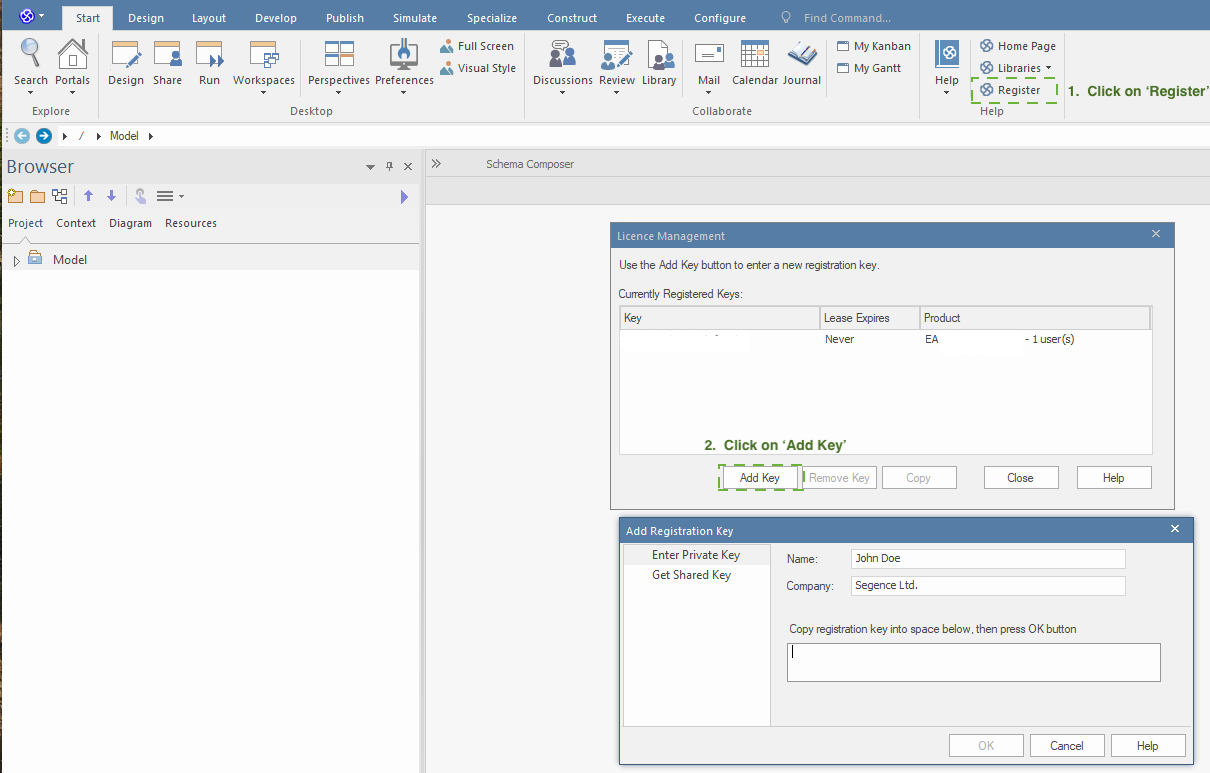
Name and company should be your (the user’s) name and company name.
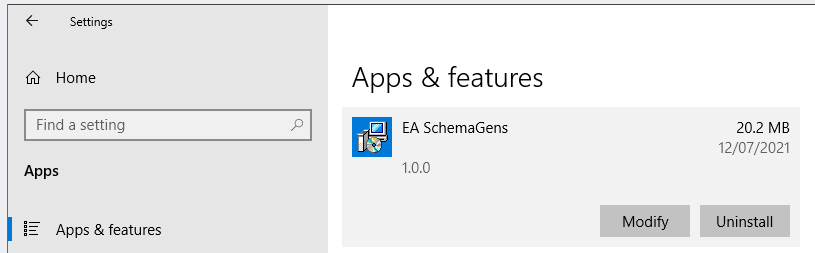
Uninstall the Add-In